How to integrate an email signature in Outlook
Step 1: Open Outlook
Launch the Outlook application on your computer.
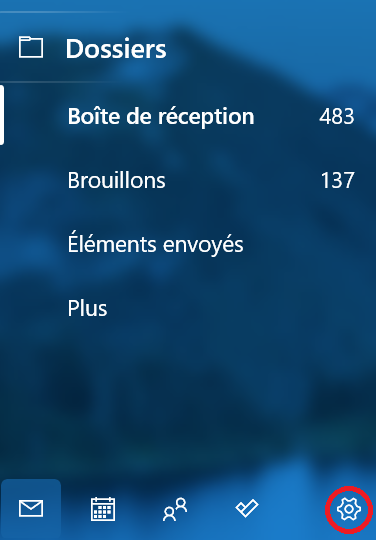
Step 2: Access Settings
Click on the gear icon at the bottom left of the Outlook page.
Step 3: Create a New Signature
In the "Outlook Options" window, choose "Signature" from the right-hand pane.

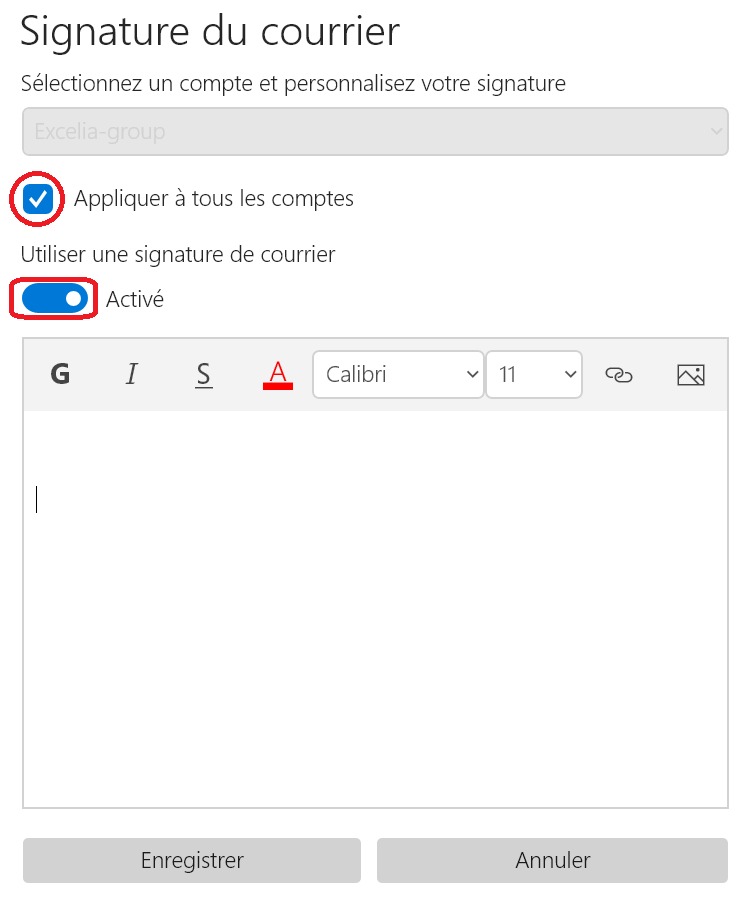
Step 4: Add a Signature
1. Check the box "Apply to all accounts" if not already selected to include it in all your Outlook accounts.
2. Then, check the "Enabled" box to enable your email signature.
Step 5: Paste the Signature in Outlook
1. Return to the signature settings page in Outlook.
2. In the signature text box, paste the generated signature (Ctrl + V or Cmd + V).
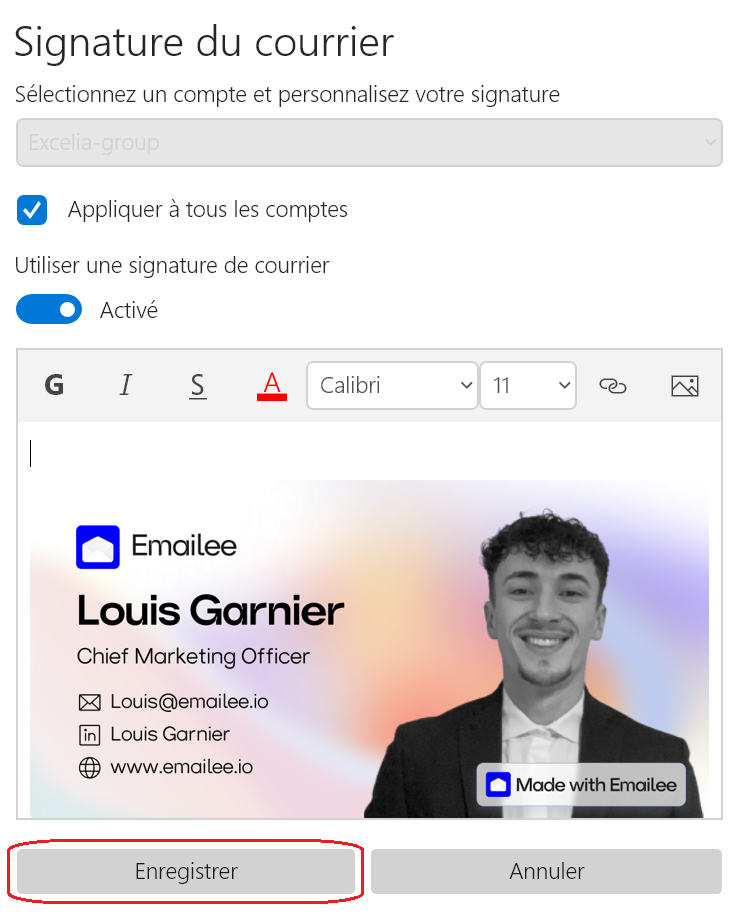
Step 7: Save Settings
Click "Save" to see your changes take effect.
Step 8: Test the Signature
Create a new message to verify if the generated signature appears correctly.

Congratulations! You have now successfully set up an email signature generated by a generator on Outlook Desktop.