How to integrate an email signature in Gmail
Step 1: Access Gmail Settings
1. Open your Gmail application by logging into your inbox.
Step 2: Access Signature Settings
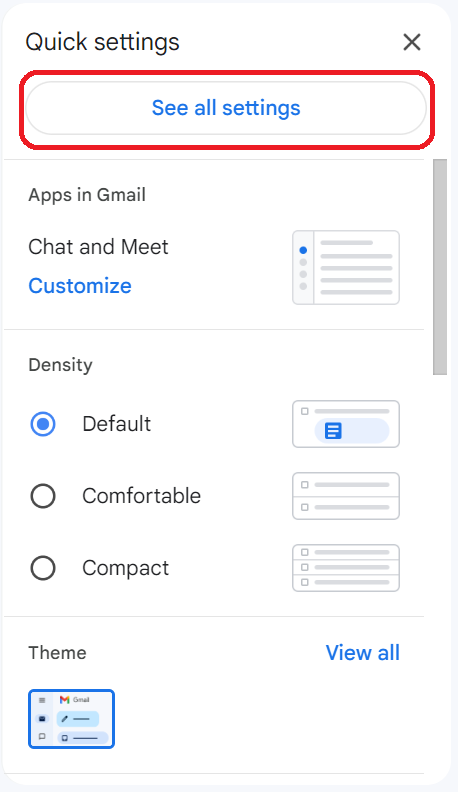
1. Click on the gear icon at the top right of the Gmail page.

2. From the dropdown menu, select "See all settings".
Step 3: Add a New Signature
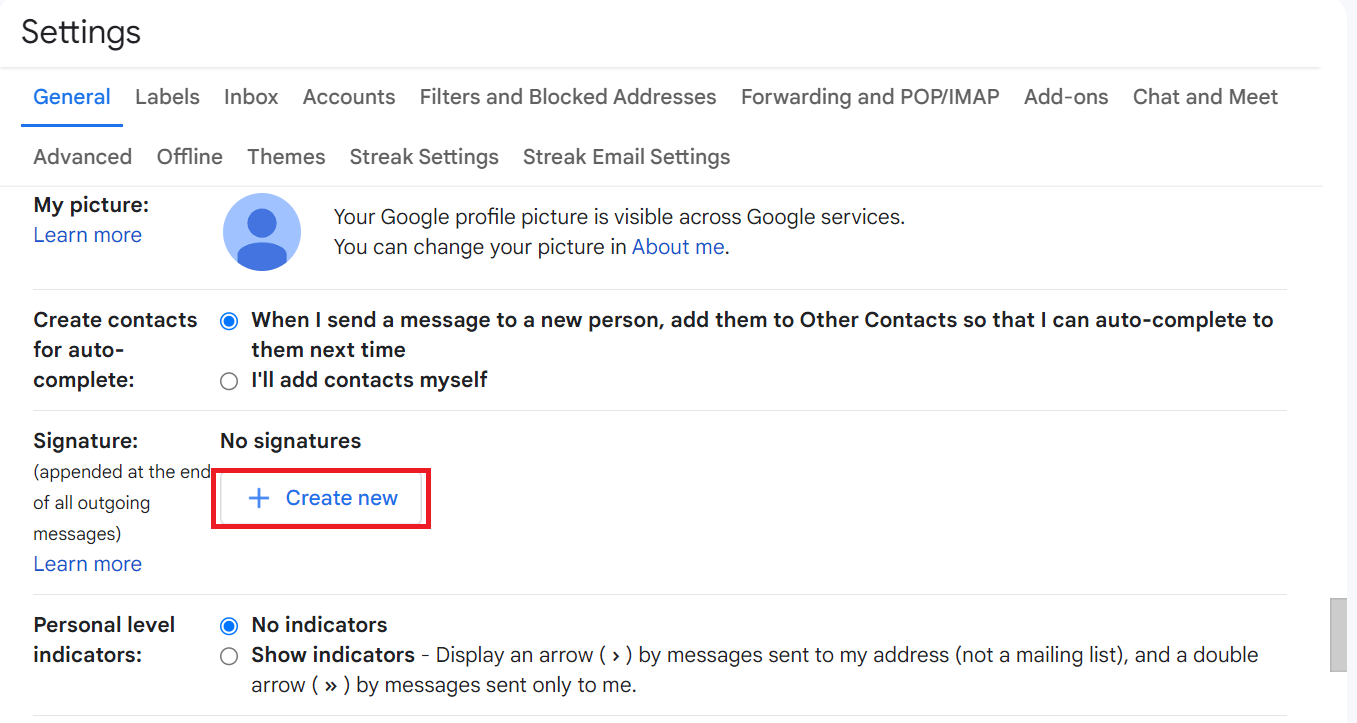
1. Go to the "General" tab.
2. Scroll down to the "Signature" section.
3. Choose "Create a new signature".
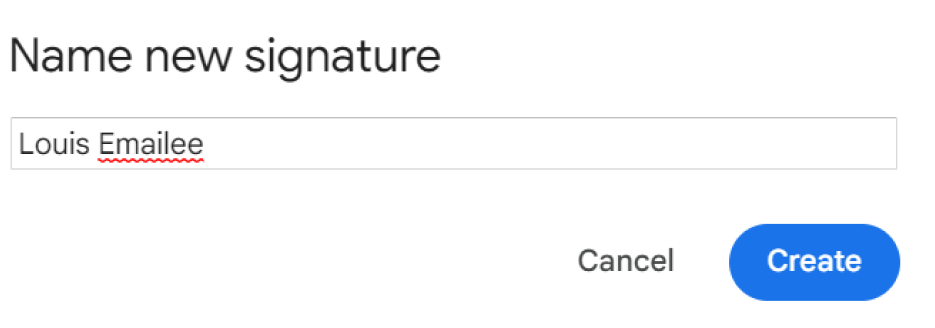
4. Provide a name for your signature (for reference purposes).
Step 4: Insert the Generated Signature
1. Go to Emailee's dashboard and create a new signature
2. Copy the generated signature with the 'Copy to clipboard' button.
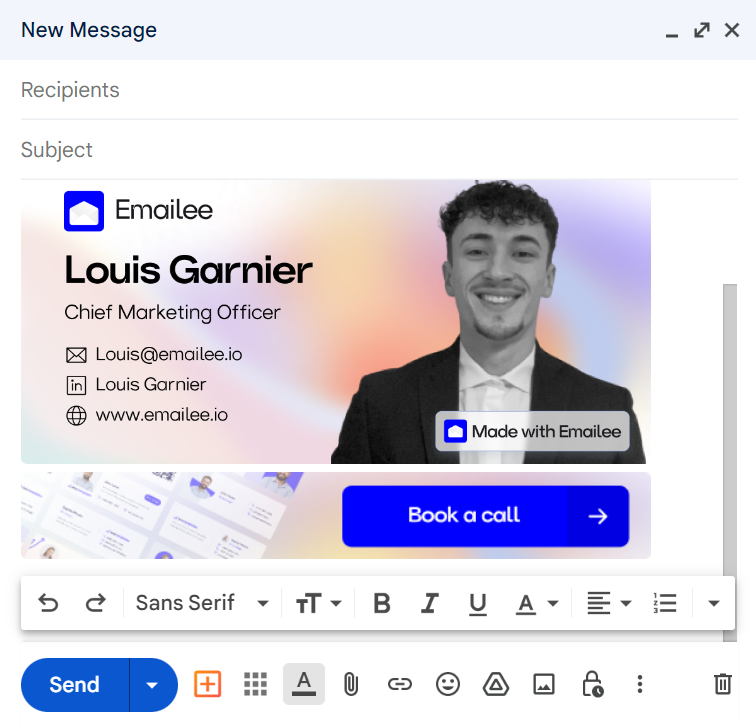
Step 5: Paste the Signature in Gmail
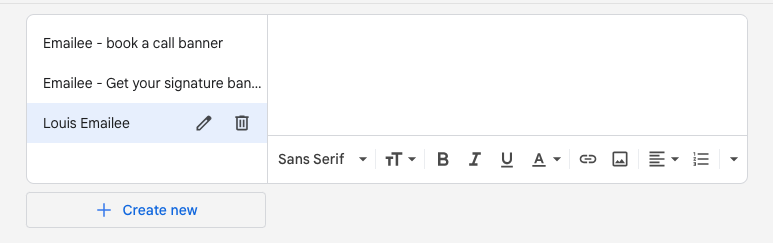
1. Go back to the signature settings page in Gmail.
2. Paste your signature in the blank input.
Step 6: Assign the Signature to Messages
1. Below the signature text box, select "Insert this signature before the quote in replies and forwards".
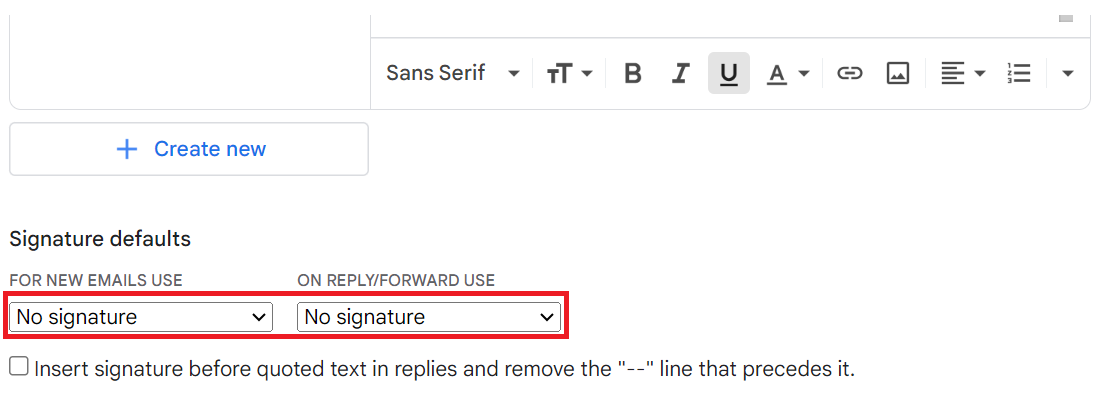
2. If desired, you can also choose not to display a signature for replies.
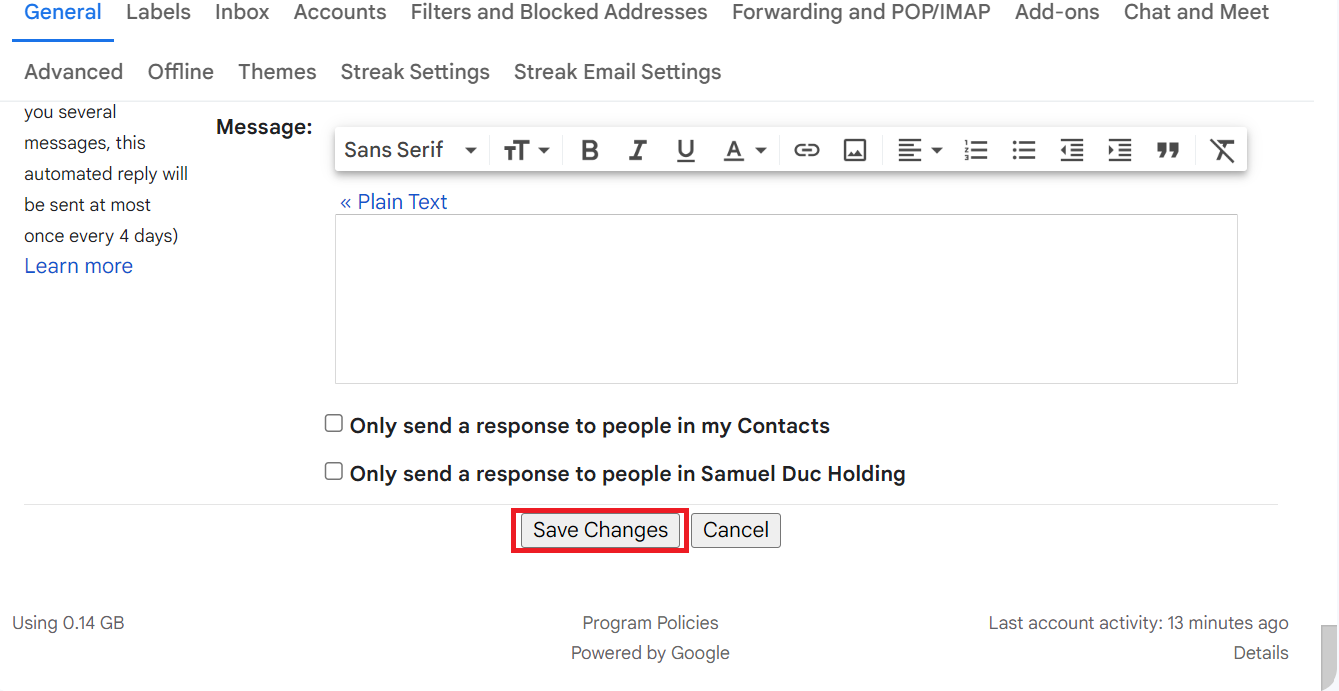
3. Click the "Save Changes" button at the bottom of the page.
Step 7: Test the Signature
1. Send an email to yourself or a friend to verify if the signature is correctly formatted and displayed.
Congratulations! You have now successfully configured a generated email signature using a generator on Gmail Desktop.